First Aid, CPR, and AED: A Comprehensive Guide
This guide draws from updated December 2021 instructor manuals, the American Red Cross handbook, and resources like the NREMT study guide, offering crucial emergency response knowledge.
Participants will learn vital skills, including severe bleeding control, burn management, CPR techniques for all ages, and AED operation, ensuring preparedness in critical situations.
Understanding the Participant Manual
This manual, often available as a PDF – like the “heartsaver first aid cpr aed part 1” document – serves as your primary resource for mastering essential life-saving techniques. It’s designed to complement hands-on training, providing a detailed framework for understanding first aid, CPR, and AED usage.
The content aligns with standards set by organizations like the American Red Cross and the American College of Emergency Physicians, covering topics from initial assessment to advanced resuscitation procedures. Expect comprehensive sections on recognizing emergencies, providing appropriate care, and utilizing an AED effectively.
Key areas include protocols for severe bleeding, burn management, and responding to choking victims of all ages. The manual emphasizes the importance of early intervention and continuous CPR until professional help arrives, referencing guidelines for chest compression depth and rescue breath ratios. Regular review of this PDF is crucial for skill retention.
First aid, as detailed in participant manuals, prioritizes immediate care for injuries and illnesses, bridging the gap until professional medical help arrives.
Basic Principles of First Aid
Fundamental to effective first aid, as outlined in comprehensive manuals, is ensuring scene safety before approaching a casualty. This involves assessing for hazards that could endanger both the responder and the victim.
Prioritizing life-threatening conditions – such as airway obstruction, breathing difficulties, and severe bleeding – is paramount. Rapid assessment allows for focused intervention. Following this, the principles of preservation of life, prevention of further injury, and promoting recovery guide actions.
Proper documentation of observations and interventions is crucial, as is respecting the casualty’s dignity and obtaining consent when possible. These principles, detailed in resources like the American College of Emergency Physicians’ manual, form the bedrock of responsible first aid practice.
Legal Considerations & Good Samaritan Laws
Understanding legal aspects is vital for anyone providing first aid, CPR, or using an AED. Good Samaritan laws are designed to protect individuals who voluntarily offer assistance in an emergency, to the extent they act in good faith and without gross negligence.
These laws vary by location, but generally shield responders from liability for unintentional harm. However, they typically do not protect against reckless or intentionally harmful acts. It’s crucial to act within the scope of your training and knowledge.
Consent is a key consideration; obtain it if possible, but implied consent is assumed in life-threatening situations where the person is unconscious or unable to respond. Resources like the ARC handbook emphasize acting responsibly and within legal boundaries.

II. Cardiopulmonary Resuscitation (CPR) – Adult
Adult CPR involves recognizing cardiac arrest, performing 30 chest compressions at a depth of 1/3 chest depth, followed by two rescue breaths, repeated in sets.
Recognizing Cardiac Arrest
Identifying cardiac arrest is the first critical step. A victim will be unresponsive, showing no signs of life, and not breathing normally – or only gasping. Immediately check for responsiveness by tapping and shouting, “Are you okay?”

Quickly assess for breathing. Look for chest rise and fall for no more than ten seconds. Gasping is not normal breathing. If there’s any doubt, proceed as if the person is not breathing.
Time is of the essence. Early recognition and immediate action, including initiating CPR and utilizing an AED, significantly increase the chances of survival. Bystander intervention, with swift CPR, plays a key role in protecting victims before professional help arrives.
Don’t hesitate to act. Even if unsure, starting CPR is better than doing nothing, as it provides vital blood flow and oxygen until advanced medical care is available.
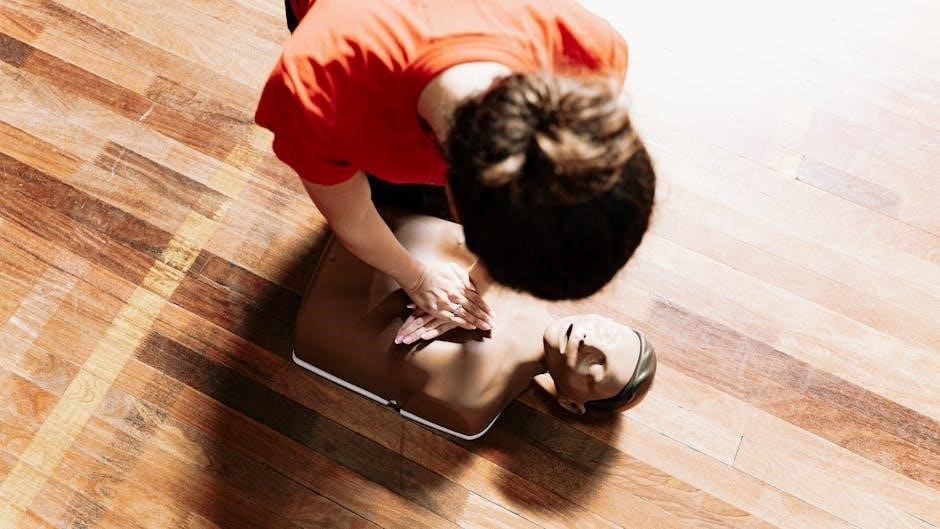
CPR Steps: Chest Compressions
Begin with high-quality chest compressions. Position yourself beside the victim and place the heel of one hand in the center of the chest, with the other hand on top, interlacing fingers.
Compress the chest at least 2 inches (5 cm) deep, but no more than 2.4 inches (6 cm), at a rate of 100-120 compressions per minute. Allow the chest to fully recoil after each compression.
Minimize interruptions. Deliver 30 chest compressions followed by two rescue breaths. Continue cycles of 30 compressions and 2 breaths.
Maintain consistent pressure and rate. Effective compressions circulate blood, providing oxygen to vital organs. Continue CPR until professional help arrives or the victim shows signs of life.

CPR Steps: Rescue Breaths
Following chest compressions, administer rescue breaths. Open the airway using the head-tilt/chin-lift maneuver – gently tilt the head back and lift the chin.
Pinch the victim’s nose shut and create a complete seal over their mouth with yours. Give two rescue breaths, each lasting about one second, watching for chest rise.
Ensure visible chest rise with each breath. If the chest doesn’t rise, re-tilt the head and try again. Avoid excessive ventilation; forceful breaths are not necessary.
Return immediately to chest compressions after delivering the two breaths, minimizing interruptions. Continue cycles of 30 compressions and 2 breaths until help arrives or the victim recovers.
III. Cardiopulmonary Resuscitation (CPR) – Child & Infant
This section details adapting CPR techniques for children and infants, emphasizing differences in compression depth and breath force, crucial for effective resuscitation.
Differences in CPR Technique for Children
CPR for children necessitates adjustments from adult protocols, primarily concerning compression depth and force. Unlike adults where compressions should reach approximately 2 inches, for children, aim for roughly 1/3 the depth of the chest. This adjustment accounts for the child’s smaller skeletal structure and prevents potential injury.
Rescue breaths also differ; deliver breaths gently, ensuring visible chest rise, avoiding excessive force. The compression-to-breath ratio remains 30:2 if a single rescuer is present, mirroring adult CPR. However, two-rescuer CPR utilizes a 15:2 ratio, increasing the frequency of compressions.
Recognizing the need for CPR in a child involves checking for responsiveness and breathing. If absent, initiate CPR immediately, prioritizing chest compressions and minimizing interruptions. Early intervention significantly improves outcomes, emphasizing the importance of training and preparedness.
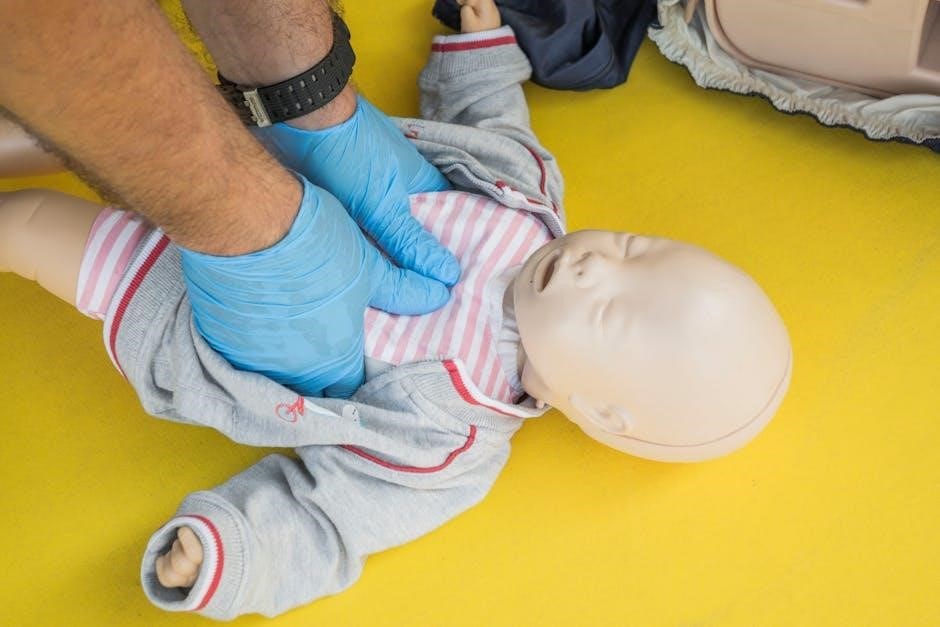
CPR for Infants: Specific Considerations
Infant CPR demands unique techniques due to their fragile anatomy. Compressions are performed using two fingers (or two thumbs encircling the chest) in the center of the chest, just below the nipple line, to a depth of about 1.5 inches – approximately one-third of the chest depth.
Rescue breaths are gentler, covering both the infant’s mouth and nose with your mouth to create a seal. Deliver puffs of air, observing for visible chest rise, avoiding forceful breaths. The compression-to-breath ratio is 30:2 for single rescuer CPR, mirroring children’s CPR.
Prioritize rapid response; infants are particularly vulnerable to respiratory and cardiac arrest. Early recognition and immediate CPR initiation are crucial for improving survival rates. Training and familiarity with these specific techniques are paramount for effective infant resuscitation.
IV. Automated External Defibrillator (AED)
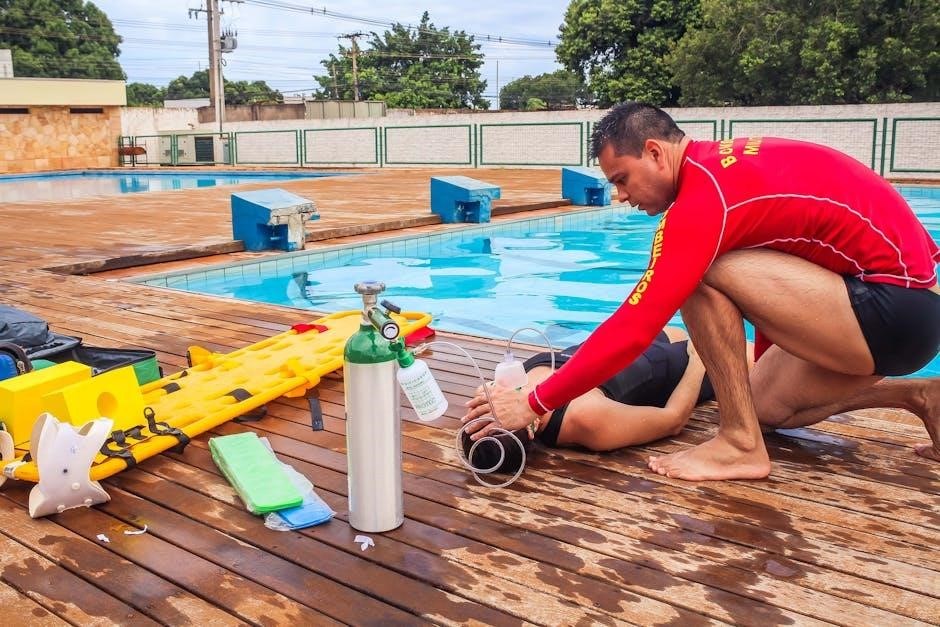
AEDs are vital for sudden cardiac arrest, delivering electrical shocks to restore a normal heart rhythm, as detailed in updated manuals and Red Cross guidelines.
How AEDs Work
Automated External Defibrillators (AEDs) analyze the heart’s rhythm to determine if a shock is needed. They are designed to deliver a controlled electrical current to the heart, aiming to depolarize the heart muscle simultaneously. This interruption of chaotic electrical activity allows the heart’s natural pacemaker to potentially regain control and establish a regular, effective rhythm.
Crucially, AEDs will only advise a shock if a shockable rhythm – ventricular fibrillation or pulseless ventricular tachycardia – is detected. They won’t deliver a shock if the heart shows signs of electrical activity or no activity at all. Modern AEDs provide voice prompts to guide rescuers through each step, ensuring proper pad placement and shock delivery.
Understanding that early defibrillation significantly increases survival rates is paramount, and AEDs are engineered to be user-friendly, even for individuals with minimal training, as emphasized in current participant manuals.
AED Operation: Step-by-Step Guide
First, ensure scene safety and call emergency services. Power on the AED and follow the voice prompts. Expose the casualty’s chest and attach the AED pads – one on the upper right chest and the other on the lower left side. Ensure proper skin contact.
The AED will analyze the heart rhythm. Avoid touching the casualty during analysis. If a shock is advised, the AED will charge. Before pressing the shock button, verbally announce “Clear!” to ensure no one is touching the casualty.
After delivering the shock (or if no shock is advised), immediately resume CPR, starting with chest compressions. Continue following the AED’s prompts until emergency personnel arrive or the casualty shows signs of life, as detailed in participant manuals.
Safety Precautions When Using an AED
Prioritize safety by ensuring the area around the casualty is dry and clear of any flammable materials. Never use an AED on a casualty lying in water; move them if possible. Avoid direct contact with the casualty during rhythm analysis and shock delivery – verbally announce “Clear!” before pressing the shock button.
Remove any metallic objects, including jewelry and body piercings, from the chest area. Be cautious with implanted medical devices; avoid placing pads directly over them. Do not use an AED on a moving vehicle or during a thunderstorm.
Always follow the AED’s voice prompts and manufacturer’s guidelines, as outlined in the participant manual. Proper training and adherence to these precautions are crucial for effective and safe AED operation.

V. Common First Aid Emergencies
This section details responses to frequent medical crises: controlling severe bleeding, managing burns, and assisting individuals experiencing choking – for all age groups.
Severe Bleeding Control
Effective bleeding control is paramount in first aid. Immediately apply direct pressure to the wound using a clean cloth. Elevate the injured limb above the heart, if possible, to reduce blood flow.
If direct pressure and elevation are insufficient, consider applying a tourniquet only if trained and for limb injuries. Remember to note the application time.
Continuous monitoring for shock is crucial, as significant blood loss can lead to rapid deterioration. Keep the casualty warm and reassure them while awaiting emergency medical services.
Participants will practice these techniques, learning to assess wound severity and implement appropriate interventions based on the principles outlined in the American College of Emergency Physicians’ First Aid Manual and Red Cross guidelines.
Burn and Scald Management
Initial burn care focuses on stopping the burning process. For thermal burns, remove the source and cool the affected area with cool (not cold) running water for at least 10-20 minutes;
Do not apply ice, butter, or ointments, as these can worsen the injury. Cover the burn loosely with a sterile, non-adhesive dressing. Assess the burn’s severity – first, second, or third degree – to determine the need for immediate medical attention.
Scald injuries require similar cooling measures. Monitor for signs of shock and ensure the casualty remains warm.
Training materials, including the ARC handbook and updated instructor manuals, emphasize recognizing burn types and providing appropriate first aid until professional help arrives, following established emergency protocols.
Choking – Adult, Child & Infant
Recognizing choking involves observing the universal choking sign – inability to speak, cough, or breathe. For adults and children, the Heimlich maneuver is crucial: stand behind the victim, make a fist, and thrust inward and upward above the navel.
Continue until the object is dislodged or the victim becomes unresponsive. If unresponsive, begin CPR. Infant choking requires different techniques – alternating five back blows and five chest thrusts.
First aid manuals, like those from the American Red Cross and updated instructor resources, detail these procedures.
Participants learn to differentiate between mild and severe airway obstruction and apply appropriate interventions, emphasizing quick action and proper technique for effective airway clearance.

VI. Additional Emergency Situations
This section covers responding to stroke, allergic reactions (anaphylaxis), and utilizing the recovery position, drawing from updated first aid and CPR/AED manuals.
Recognizing and Responding to Stroke
Rapid recognition of stroke symptoms is crucial for effective intervention; Participants will learn to identify key indicators using the acronym FAST: Face drooping, Arm weakness, Speech difficulty, and Time to call emergency services.
Immediate action is paramount; every minute counts. The manual emphasizes the importance of noting the time symptoms began, as this information is vital for medical professionals determining treatment options.
Do not administer anything by mouth and monitor the individual’s breathing and level of consciousness.
Participants will practice assessing a suspected stroke victim and communicating vital information clearly to emergency dispatchers, following guidelines from updated first aid and CPR/AED resources.
Dealing with Allergic Reactions (Anaphylaxis)
Anaphylaxis is a severe, potentially life-threatening allergic reaction requiring immediate intervention. Participants will learn to recognize symptoms, including hives, swelling, difficulty breathing, and a sudden drop in blood pressure.
The primary treatment for anaphylaxis is the administration of epinephrine via an auto-injector (EpiPen). The manual provides step-by-step instructions on proper administration technique, emphasizing the importance of following manufacturer’s guidelines.
Post-epinephrine administration, always call emergency services (911) even if symptoms appear to improve.
Participants will practice simulating epinephrine administration and understand the necessity of positioning the individual appropriately – ideally lying down with legs elevated – while awaiting medical assistance, based on current first aid protocols.
The Recovery Position
The recovery position is a crucial first aid maneuver used for unconscious, breathing individuals who do not have a suspected spinal injury. This position helps maintain an open airway and prevents choking on vomit or fluids.
The participant manual details a clear, step-by-step guide to safely placing a casualty into the recovery position. This includes extending the arm nearest to you above their head, bringing the other arm across their chest, and rolling them towards you.
Proper technique ensures the airway remains open and facilitates drainage.
Regular monitoring of breathing is essential while the casualty remains in the recovery position, awaiting the arrival of emergency medical services, as outlined in the provided first aid resources.